

Hola! Today's post is nail art-related, something I've learned through countless nail art tutorials in YouTube. And it's pretty freaking cool.
Late last year, I got my first stamping nail art items. I tried using them a few months ago and let's just say it was a bit of a fail. But after watching stamping nail art videos, I decided to try my luck with stamping again. The results are fine but I'm no stamping master yet. Anyway, today's post is something that fascinates me every freaking time. DIY nail stickers? Yes, please.
It's pretty simple really and I'm an idiot for not sharing this ASAP. Ready? Let's begin.
Things you need:

Side note: If you're wondering why the hell my stamper is a sim card holder, it's because the Konad scraper sucks. That, or I'm using it wrong. But if you're like me who thinks so, go for something that's quite stiff, like a sim card holder, prepaid card, plastic calling card, train card, an expired credit card you get the jist. I found this sim card holder lying around the house so I claimed ownership and I officially made it my nail art scraper.
Also, if you already know how to stamp, skip the first three steps and go straight to step 4.
STEP ONE: Apply polish on your chosen design.
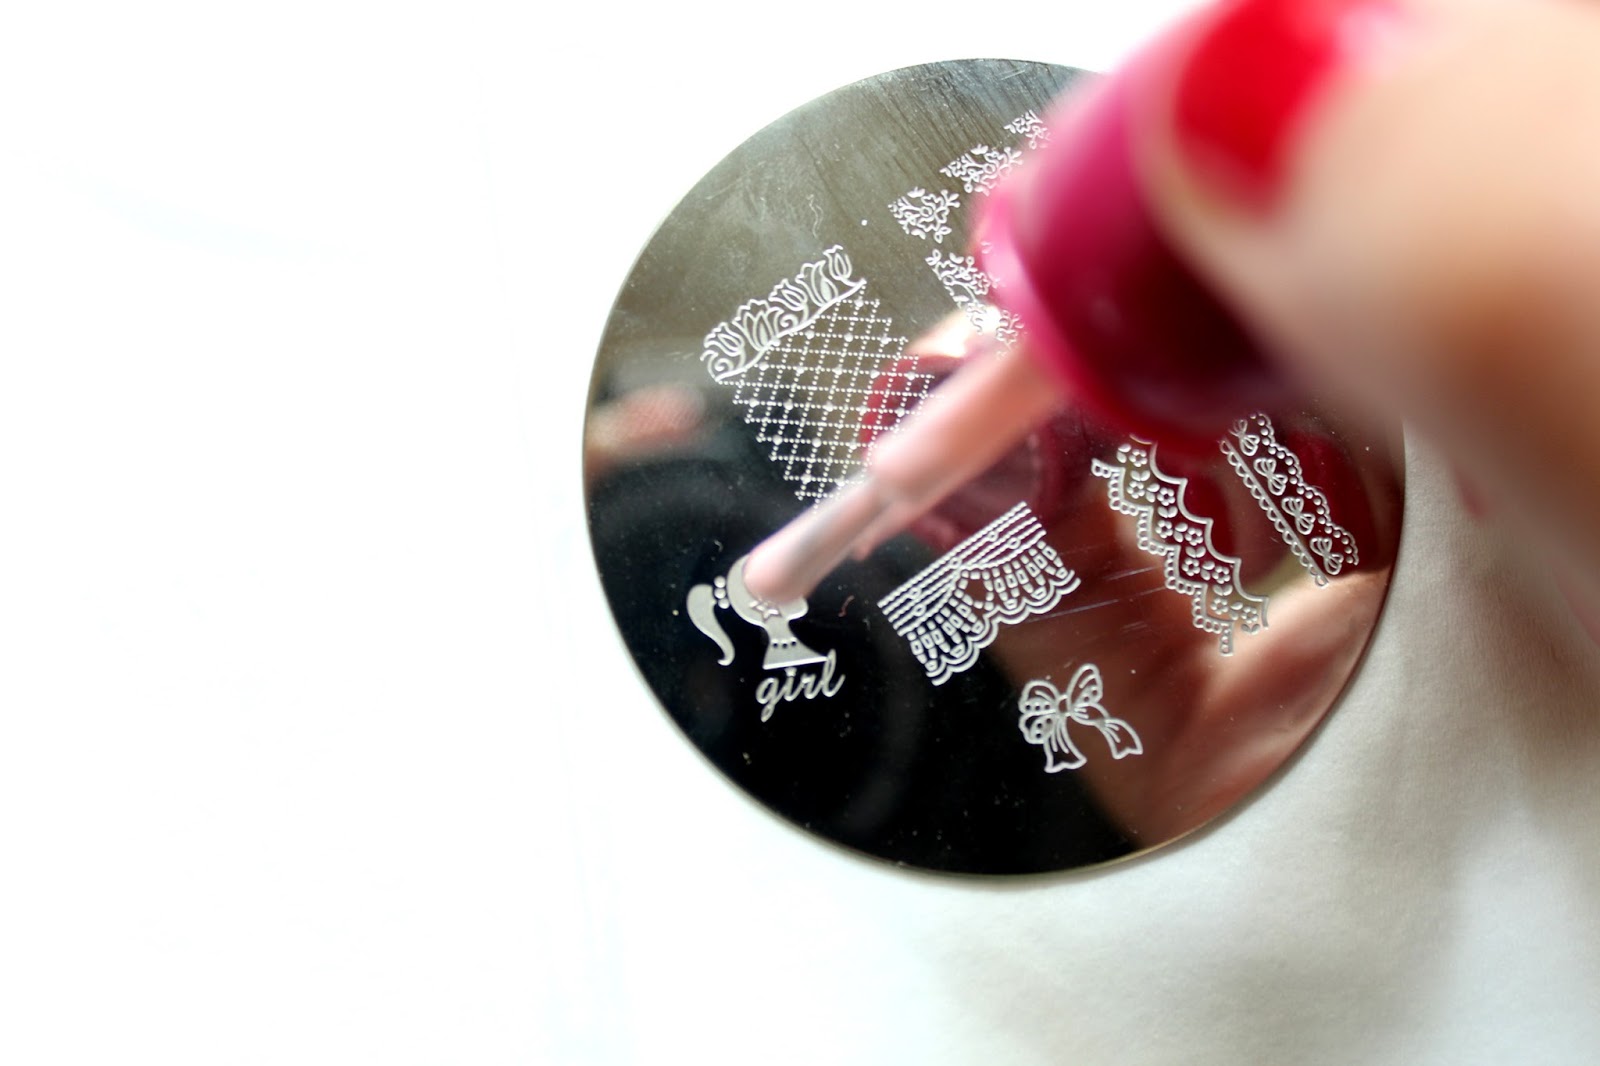

STEP TWO: Scrape excess polish.

STEP THREE: Transfer the design to the stamper by err...stamping.

STEP FOUR: Now that the design is on the stamper, let the polish dry. It won't take that long. This is just so the polish won't smudge once we go to step five. Also, if you want to fill the design with color, now's the time to do so. Just don't forget to let all the polishes dry.

STEP FIVE: Apply clear polish on your design. I'm not sure if you can use top coat but all the nail gurus I've watched used clear polish so I'm just following their lead. Apply a generous coat or else your sticker would be flimsy and prone to tearing.

STEP SIX: Allow to dry for a couple of minutes. Don't leave it overnight or else it would be one crumbly mess and you won't be able to use it.

STEP SEVEN: Once it's completely dry, grab your tweezers and carefully peel the design, starting from the corners. It's better if you once a blunt pair of tweezers so you won't scratch your stamper and/or cut your sticker.

AND TADAH! You have your sticker!

You can cut the excess clear polish before applying it on your nail. Once it's on your nail, apply top coat and you're pretty much done! If you have a lot of stampers, you can do lots of stickers at once but if you only have one, you can use it as an accent design. It's not limited to small designs, you can use it on the bigger designs of your stamping plate and customize it any way you like.

I didn't apply top coat on top of the nail so you can pretty much see the sticker. Top coat's important as it evens everything out, so don't forget it!
I've watched lots of nail art tutorials but I gotta credit Nails by Cassis for this technique. Almost all her videos involve direct stamping and this technique and I definitely learned this one from her. She's crazy good with her nail art so do check her vids! You won't regret it. :)


0 Comments